I’m excited to share my favorite dairy-free chocolate chip cookie recipe. It’s a delicious dessert perfect for those looking for a guilt-free treat. These vegan cookies can be made in just 25 minutes, making them a great alternative to traditional cookies.
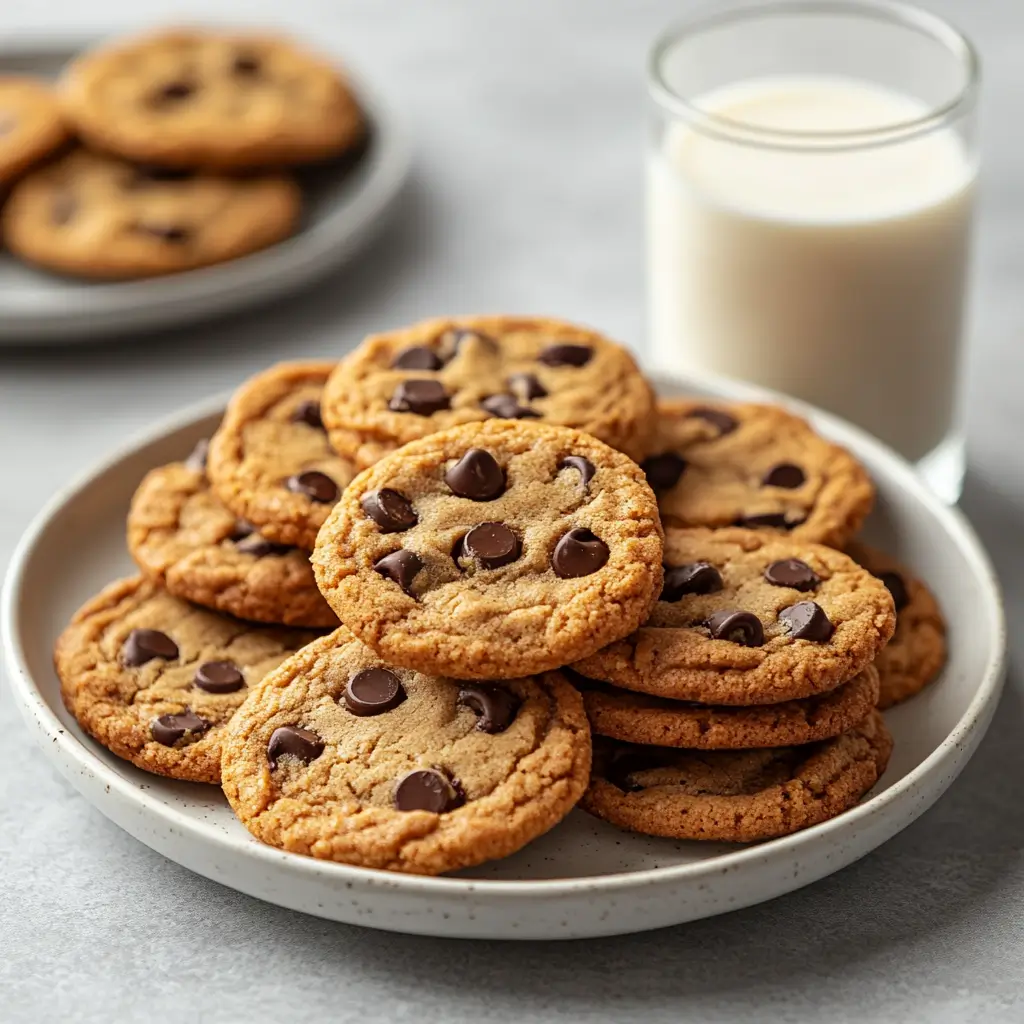
Using dairy-free yogurt as an egg replacement helps create a moist and chewy cookie. This recipe is perfect for vegans, those with lactose intolerance, or anyone wanting a healthier option. It’s sure to satisfy your cravings for dairy-free chocolate chip cookies.
Essential Ingredients for Perfect Dairy-Free Cookies
To make delicious dairy-free chocolate chip cookies, you need the right ingredients. These should add moisture, flavor, and texture. I’ve learned that the right mix can make a big difference.
Key ingredients include dairy-free yogurt, vegan butter, and dairy-free chocolate chips. They make the cookies tasty and safe for those with dietary needs.
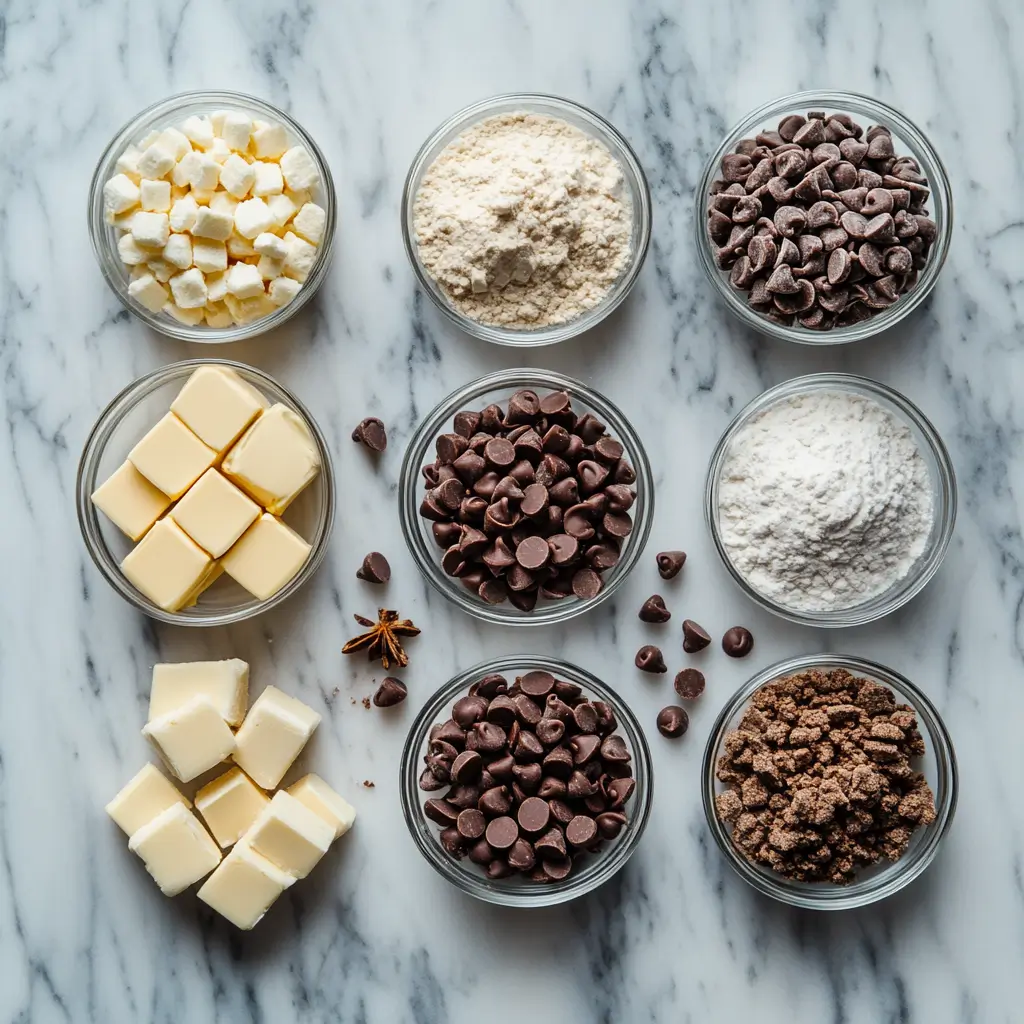
Here are the main ingredients for perfect dairy-free cookies:
- Dairy-free yogurt
- Vegan butter
- Dairy-free chocolate chips
- Gluten-free all-purpose flour
- Light brown sugar
- Granulated sugar
- Eggs or egg substitutes
- Vanilla extract
With these ingredients, you can make dairy-free chocolate chip cookies that are great for snacking or sharing. They’re perfect for any cookie craving, whether classic or vegan.
Step-by-Step Baking Instructions
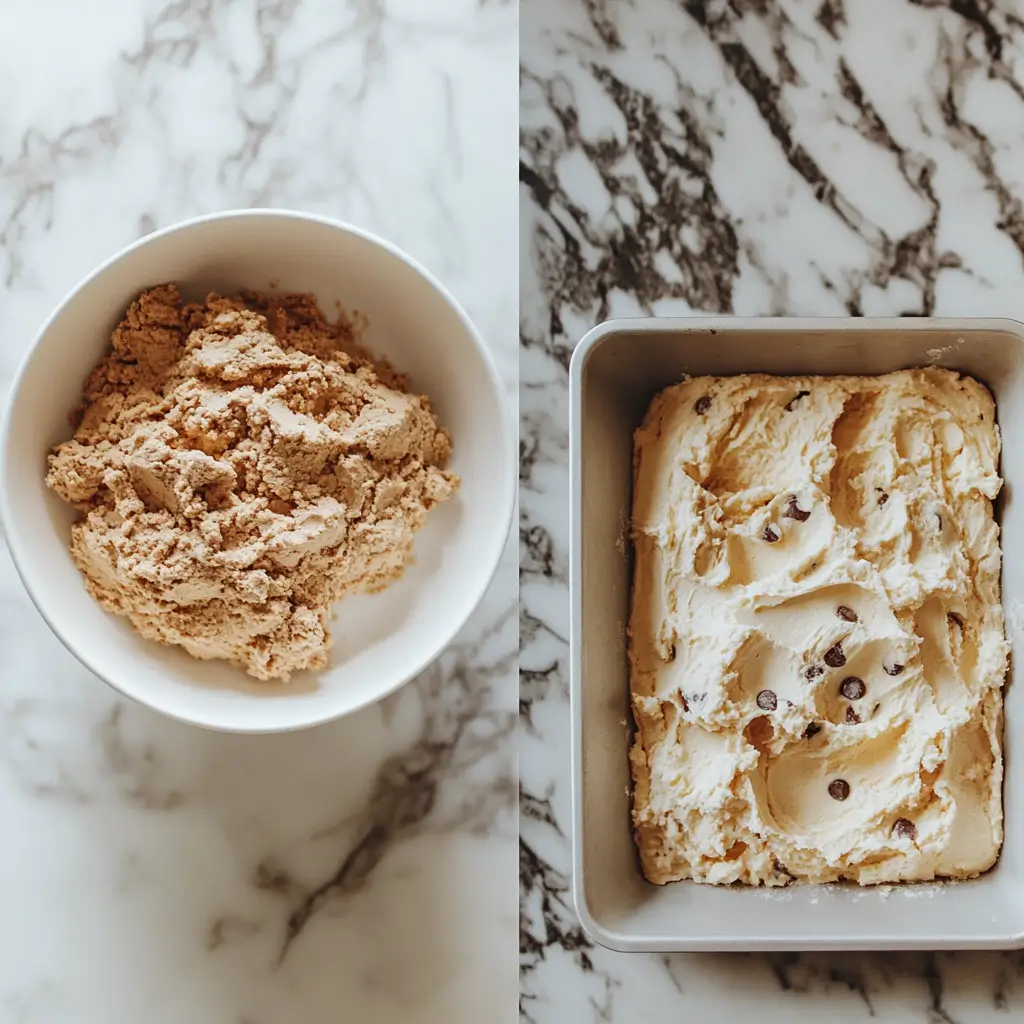
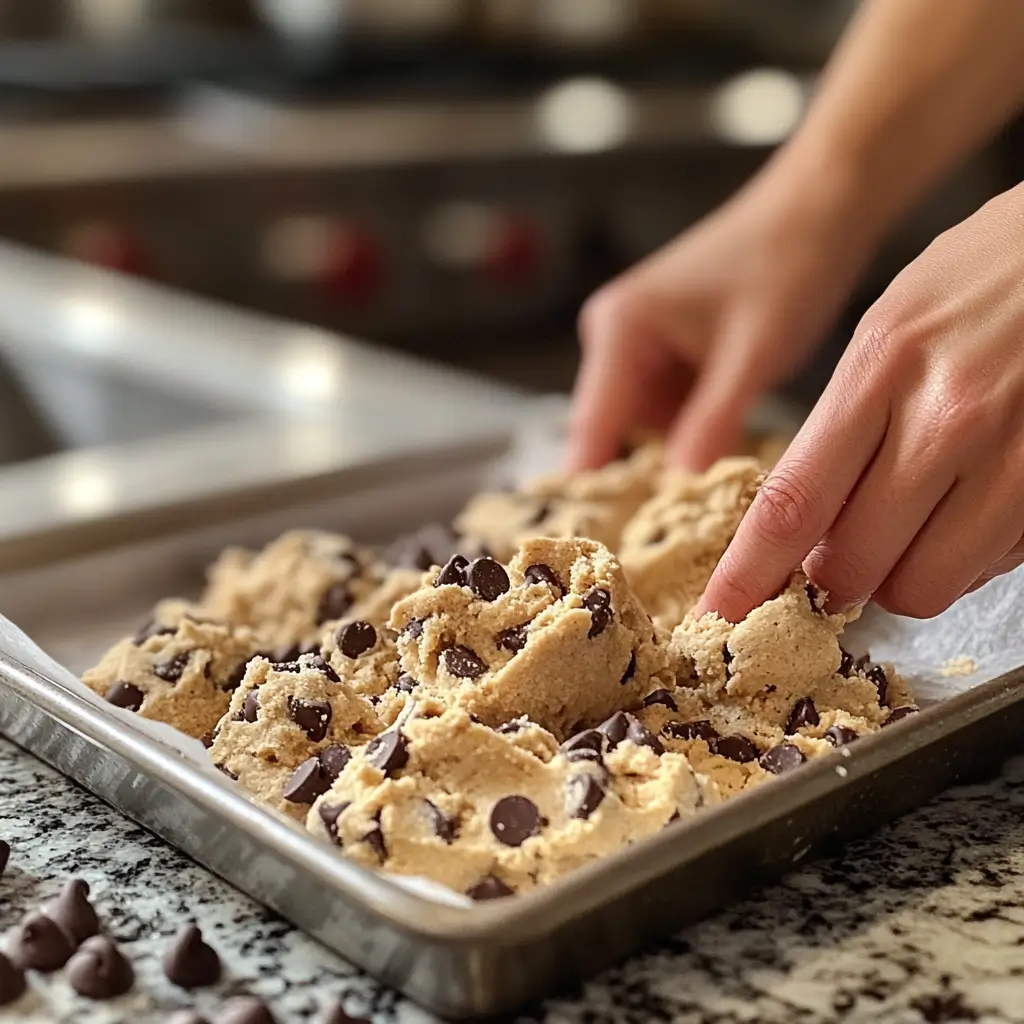
To bake delicious dairy-free chocolate chip cookies, start by preparing your ingredients. Measure out the dry ingredients, including flour, baking soda, and salt. In a separate bowl, cream together the wet ingredients, such as dairy-free butter and sugars.
Next, mix the dough, being careful not to overmix. Combine the dry and wet ingredients, then stir in the dairy-free chocolate chips. Chill the cookie dough for at least 2 hours or overnight to allow the flavors to meld together.
When you’re ready to bake, preheat your oven to 350 degrees F. Scoop the cookie dough into balls, leaving about 2 inches of space between each cookie. Bake for 10-12 minutes, or until the edges are lightly golden brown. These vegan chocolate chip cookies are perfect for anyone looking for a guilt-free treat.
Some tips to keep in mind: use high-quality dairy-free chocolate chips, and don’t overbake the cookies. You can also customize the recipe by adding in your favorite mix-ins, such as nuts or dried fruit. With these step-by-step baking instructions, you’ll be enjoying delicious dairy-free chocolate chip cookies in no time.
Creative Variations and Mix-ins
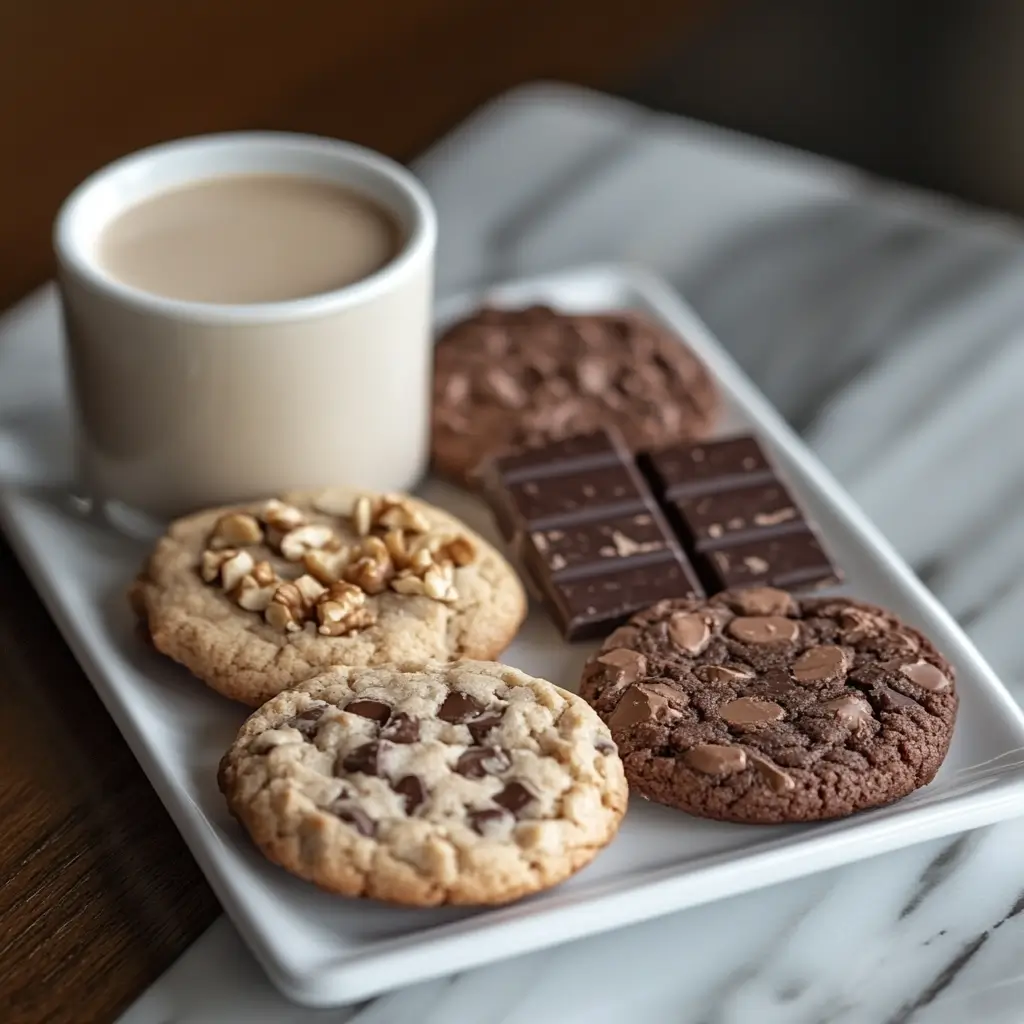
Baking lets you be creative and try new things. With dairy-free cookies, you can mix in many flavors and textures. I enjoy using different flours like almond or coconut to make dairy-free recipes special.
Adding nuts or dried fruit makes for a tasty, healthy snack. Using different chocolate chips, like gluten-free chocolate chip cookies, adds a rich flavor.
Here are some ideas for mix-ins and variations:
- Nuts: walnuts, almonds, or pecans
- Dried fruit: cranberries, raisins, or cherries
- Spices: cinnamon, nutmeg, or ginger
- Other ingredients: coconut flakes, oats, or seeds
These ideas are just the start. With a bit of creativity, you can make your own dairy-free recipes and gluten-free chocolate chip cookies. They’re perfect for any time.
Storage Tips to Maintain Freshness
Now that we’ve baked our delicious dairy-free chocolate chip cookies, it’s time to talk about storage. Proper storage is key to enjoying these treats for days to come.
To keep them fresh, store the cookies in an airtight container at room temperature. They’ll stay fresh for up to a week. For longer storage, freeze them for up to 3 months. Wrap each cookie individually or use parchment paper to prevent sticking.
When you’re ready to enjoy a frozen cookie, let it thaw at room temperature for 1-2 hours. Or, warm them up in a 300°F oven for 3-5 minutes. These simple tips will help you enjoy the delightful flavors of these dairy-free chocolate chip cookies whenever you want.
FAQ
What makes these dairy-free chocolate chip cookies so special?
These cookies are a mix of chewy and crispy, making them fun to eat. Baking without dairy can also be healthier. It can help those with lactose intolerance and offer a lower-calorie option.
What are the essential ingredients needed to make these dairy-free cookies?
You’ll need dairy-free yogurt, vegan butter, and dairy-free chocolate chips. These ingredients add moisture, flavor, and texture. They make a tasty cookie that’s safe for those with dietary restrictions.
What kind of kitchen tools and equipment do I need to make these cookies?
You’ll need a silicone baking mat, a cookie scoop, and a wire rack. A food processor and a stand mixer can also be helpful.
What’s the science behind dairy-free baking success?
Dairy-free baking is about understanding how ingredients work together. Using alternatives like dairy-free yogurt and vegan butter helps. This way, we make a cookie that’s delicious and safe for everyone.
What are some common cookie problems and how can I avoid them?
Common issues include overmixing, using the wrong flour, and baking for too long. Knowing these problems helps you avoid them. This way, your cookies will be perfect.
What are some creative variations and mix-ins I can try with these dairy-free cookies?
You can try many variations and mix-ins to add flavor and texture. Use different flours like almond or coconut. Add nuts or dried fruit for a seasonal twist.
How do I properly store these dairy-free chocolate chip cookies to maintain freshness?
Store them in an airtight container to keep them fresh. Freeze them for up to 3 months. Use parchment paper to prevent sticking.